Interpretability
Preambula
To get started you need to install glasses, this can be done through pip
pip install git+https://github.com/FrancescoSaverioZuppichini/glasses
Interpretability
There are different methods to understand the model’s output. In glasses, each model is a VisionModule instance and they all implement the Interpretable protocol allowing you to access the .interpret method.
All the available interpretability techniques are contained in glasses.interpretability. Let’s see them in action!
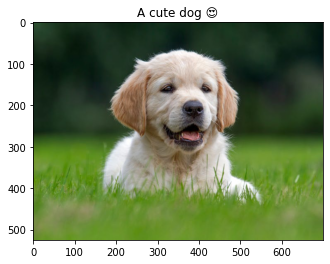
First of all, we need an image!
import requests
from PIL import Image
from io import BytesIO
import matplotlib.pyplot as plt

r = requests.get('https://i.insider.com/5df126b679d7570ad2044f3e?width=700&format=jpeg&auto=webp')
im = Image.open(BytesIO(r.content))

fig = plt.figure()
plt.title('A cute dog 😍')
plt.imshow(im)
<matplotlib.image.AxesImage at 0x7fa343f358b0>
Then we can create a model using AutoModel, a simple resnet18 will do just fine.
from glasses.models import AutoModel, AutoTransform

model = AutoModel.from_pretrained('resnet18')
cfg = AutoTransform.from_name('resnet18')
INFO:root:Loaded resnet18 pretrained weights.
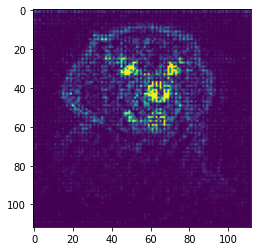
Then, let’s import the interpretability methods we would like to apply. So far I have Grad-Cam and Saliency Map implemented
from glasses.interpretability import GradCam, SaliencyMap
from torchvision.transforms import Normalize
# use config to correctly preprocess the picture and add the batch dim
x =  cfg.transform(im).unsqueeze(0)
# you just need to instance an interpretability class and pass it to .interpret
_ = model.interpret(x, using=SaliencyMap()).show()
# in the Grad-Cam case we also want to post process the image by inverting the ImageNet preprocessing
postprocessing = Normalize(-cfg.mean / cfg.std, (1.0 / cfg.std))
_ = model.interpret(x, using=GradCam(), postprocessing=postprocessing).show()
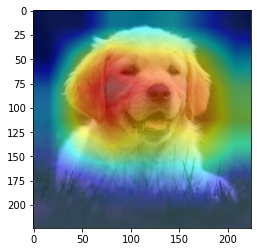
Tada!